
Essential Lettering Supplies
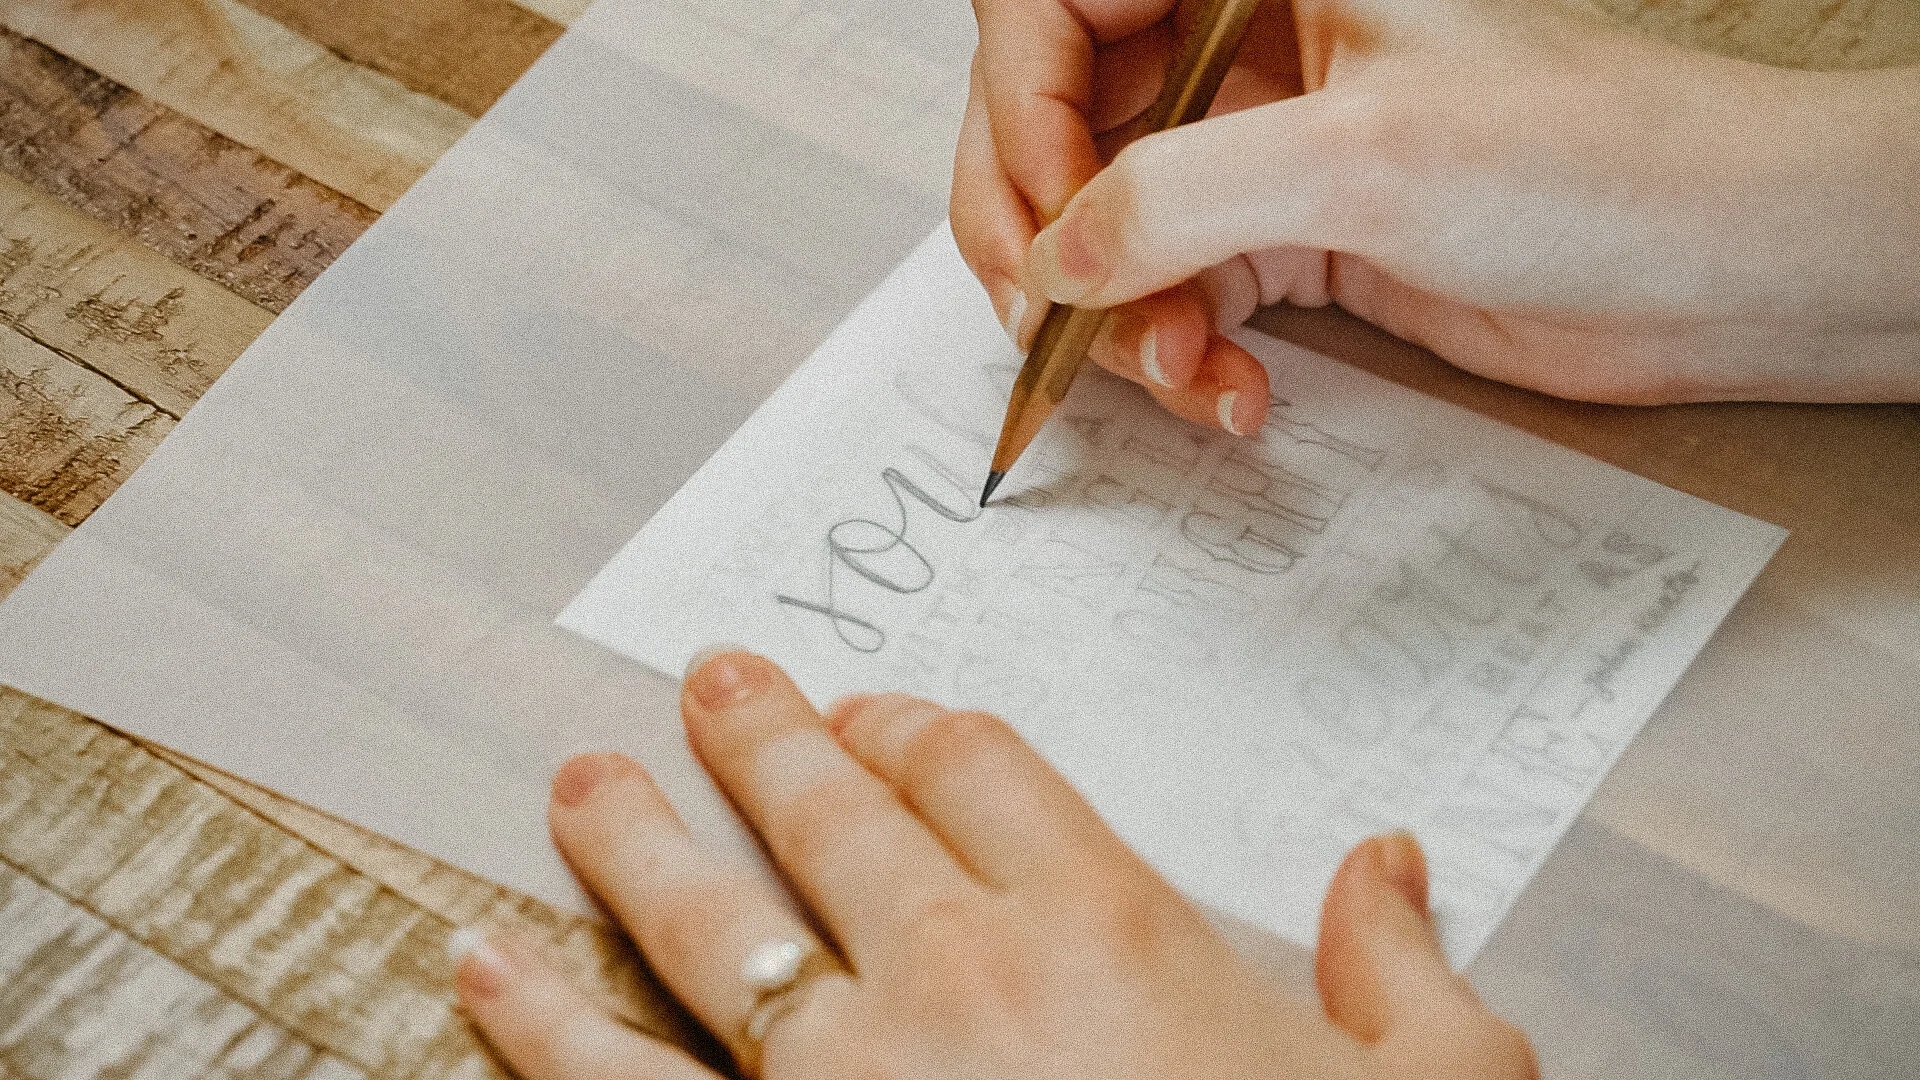
When I was a teenager, I became really interested in learning the art of hand lettering. As with any new endeavor, I wasn’t great at first, but I kept going because I knew that everyone starts in the same place. Growing up, I admired artists like Jessica Hische, Mary Kate McDevitt, and Dana Tanamachi. It was their stories and the stories of those who went before them that inspired me to keep pursuing my dreams. I found myself in their story and I believe you can find yourself in the story too.
First things first though, you’re gonna need lettering materials. Of course, I understand that some people prefer lettering digitally and I don’t blame them! Lettering on an iPad is relatively affordable, you don’t have to deal with the hassle of purchasing supplies, you don’t have to store a bunch of tools, and there’s absolutely no mess! However, in order to understand the depth of an art form, you should begin with the foundations. Digital lettering is fine, but to be honest, nothing beats a good old-fashioned piece of paper and a pen. I truly believe that those who wish to master lettering should start with the basics.

There’s no need to purchase all of the best materials right out of the gate. After all, you're still learning and you’ll be surprised at what you can accomplish with the office supplies you already have sitting around. The tools I recommend may be tried and true, but they aren’t necessary to produce great work. It’s a misconception to think that your work will look better if you use more expensive tools. Just like a professional DSLR camera won’t make you a better photographer, luxury pens won’t make you an expert lettering artist. Having said that, once you're ready to invest in some higher quality materials, I have lots of recommendations!

Paper
The first thing to consider when learning hand lettering isn’t the pens so much as the paper. Even with the right pens, the wrong paper can lead to disastrous results. You really want to find dense enough paper to limit smudging and prevent bleed-through from occurring. When it comes to paper, I prefer using a sketchbook over individual sheets of paper since it allows me to keep all of my work in one place. Over the years, I’ve found that keeping a hardbound sketchbook will prevent the interior pages from getting bent or damaged.
Although I rarely use one, another popular sketchbook within the lettering community is the Rhodia Dot Pad. Not only does the dot pad get great reviews, but it’s also really great for beginners who are still learning the ropes. If you have room in your budget, you may want to consider the Leuchtturm1917 Slim Master or a Moleskine Art Sketchbook as well. Currently, I use a large Pentalic hardbound sketchbook for all my process work and I love it!
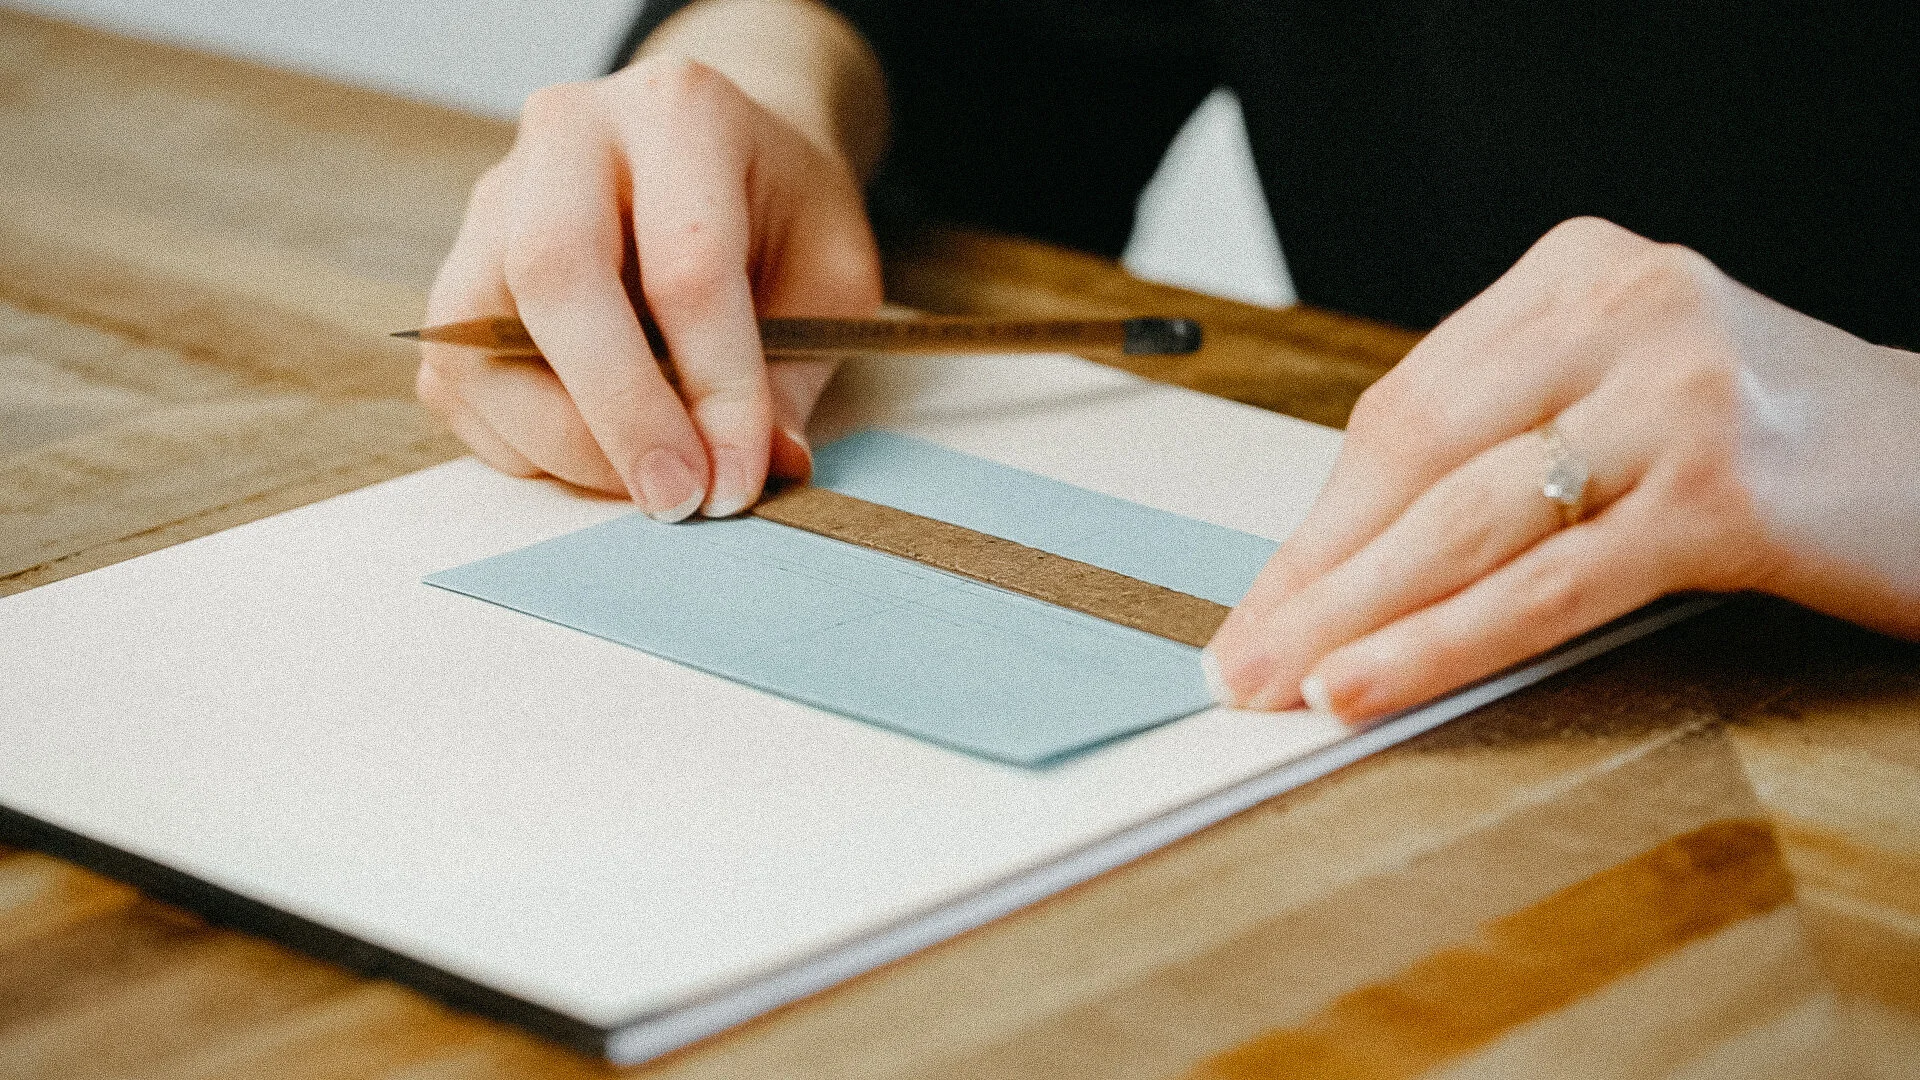
If you’re someone who doesn’t want to commit to a sketchbook, the HP Laserjet 32# paper is a great alternative! In addition to your primary paper, I recommend having a pad of tracing paper and Clearprint Drafting Vellum on hand. Including a translucent paper in your collection allows more room for refining mistakes and perfecting your final designs. Some artists prefer to have a light table in lieu of tracing paper so their original artwork can remain opaque, but I generally opt for the latter.
Graphite
Before inking your designs, you may want to sketch them first. Since there aren’t any rules when it comes to pencils, feel free to use a standard HB or number two pencil! If you’re looking for something a bit better, I recommend investing in some Blackwing Pencils. The graphite in the Blackwing Pencil writes incredibly smooth and is easy to erase; careful though, I’ve found that the soft graphite makes them susceptible to internal breakage. Another favorite pencil of mine is the General’s Cedar because of its durability and design. However, if you are looking for a device with a fine tip, I highly recommend the Staedtler Mars Lead Pointer and Rotary Sharpener.
Ink
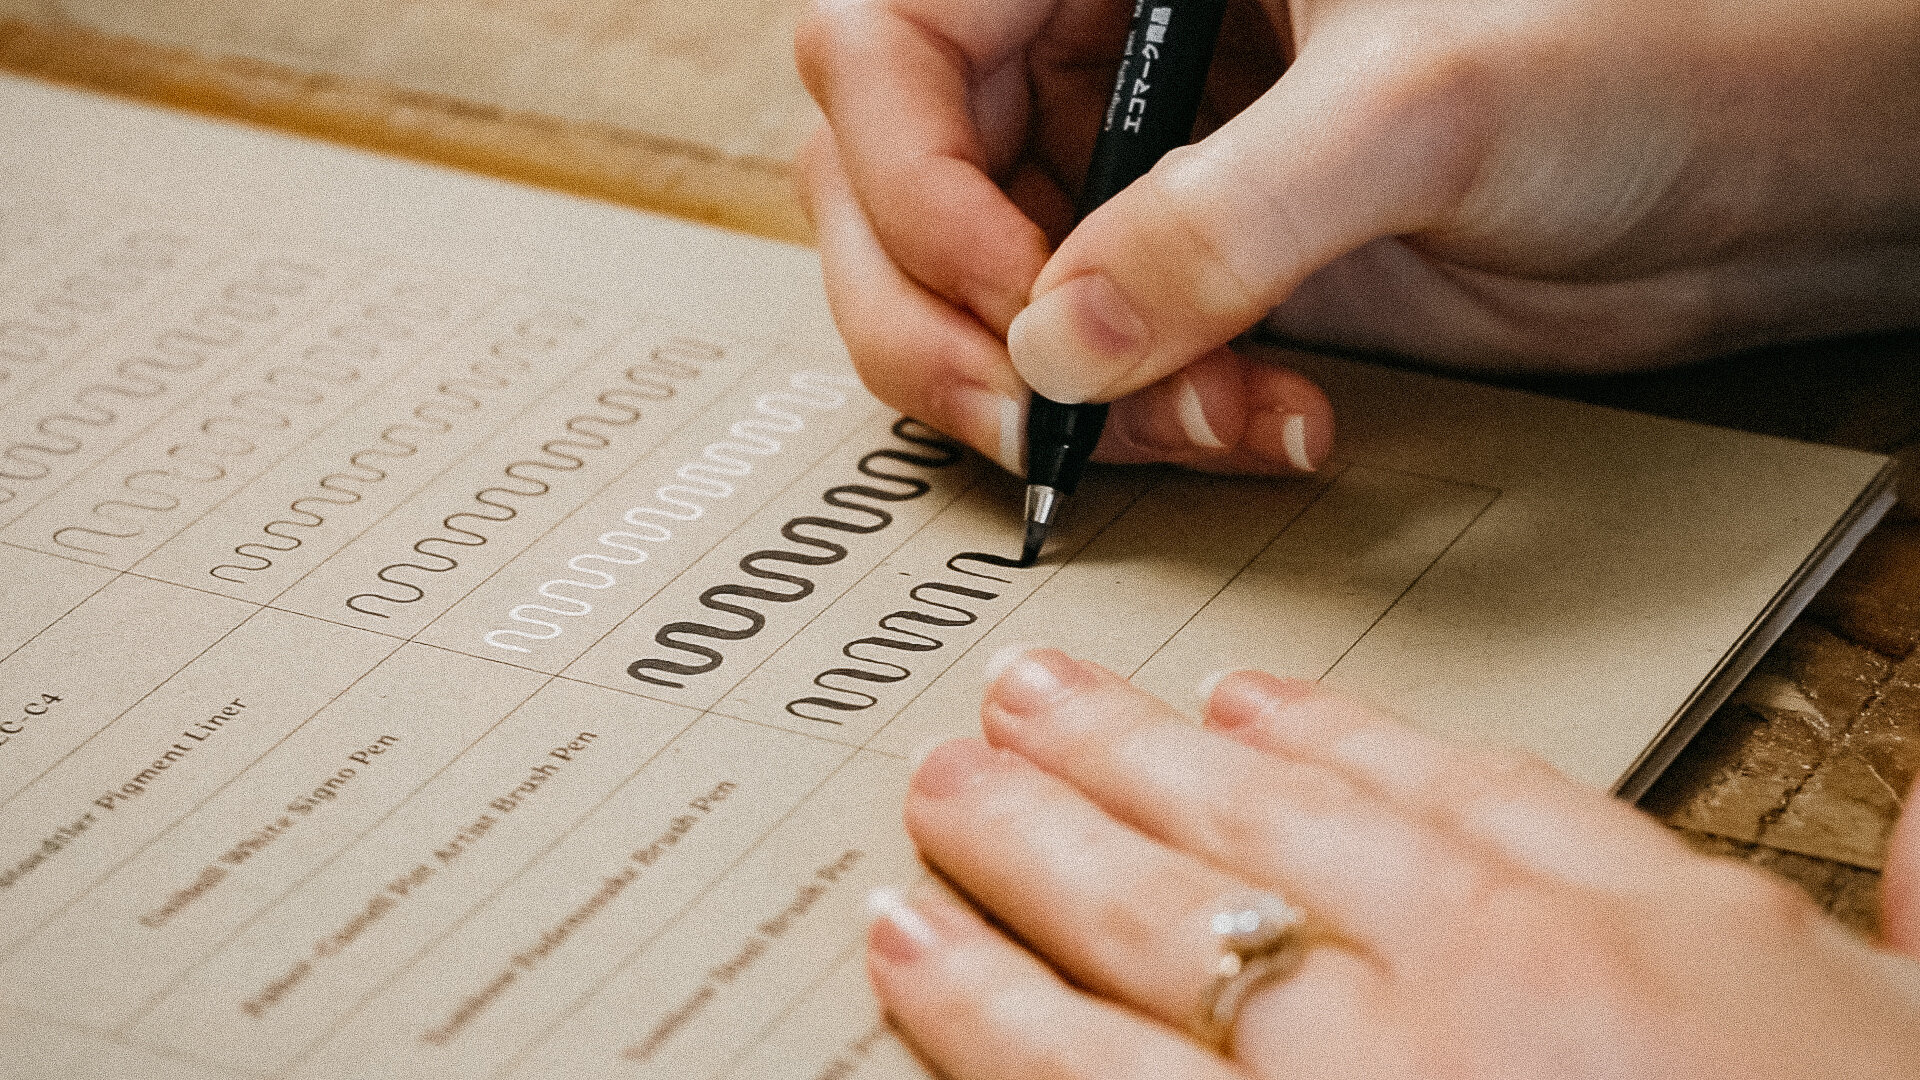
When it comes to pens, I could talk for days. In order to narrow down the options, I’ll share the best pens that I keep on hand. The first pen I’m literally never caught without is the Pilot G-TEC C4. This pen not only writes with consistent ink flow, but it also has little to no bleed-through (no matter what paper you are using). The fine tip of the C4 allows less room for error and more room for details! Out of all the pens I recommend, the Pilot G-TEC C4 is by far my favorite for both lettering and illustration.
As far as fineliners go, I’ve tried a lot of felt tip pens, but they aren’t my cup of tea. I find that felt tips often break, burst, bleed, and wear down quickly — this especially includes the Le Pen and Microns (sorry fans). However, if I had to use a felt tip pen, I would pick the Staedtler Pigment Liners. For years, my go-to pen for all things lettering was the 0.3mm Pigment Liner!
Other brands I recommend are Muji, Posca, Faber-Castell, Uniball, and Tombow. If you are purchasing a Faber-Castell pen, keep in mind that they contain India ink, so they have a bit of a wash to them. When it comes to Uniball, I love using their white Signo pen on dark or kraft paper. Although the Signo has a more concentrated pigment than most white pens, it can be a little chalky and can possibly smudge a bit (even after drying). Lastly, we have the Tombow pens! My absolute favorite Tombows are the Fudenosuke Brush Pens because they are perfect for the lettering artist of any level. If you are a beginner at brush lettering, your best bet is the Fudenosuke pens because their firm brushes allow more control. For those who are confident in their skills, I recommend giving the Tombow Dual Tip Brush Pens or the Pigma Professional Brush Pen a try as well!
Miscellaneous
Other devices I have in my toolbox include a scanner, six-inch ruler, erasers, watercolors, a laser level, and a Lettermate. If you are incorporating analog lettering with digital artwork, having a scanner is a lifesaver. Yes, there are scanning and auto-vectorizing apps, but they aren’t the same. If you want your digitized lettering to maintain its hand-drawn integrity, invest in a good scanner. I’ve been using the Canon CanoScan LiDE 220 for years and it’s never failed me.
If you love adding watercolors to your work, the Marketing Metallic Accents are a must-try! However, be careful to avoid accidental smudging when painting. Personally, I prefer creating a multicolored watercolor wash in the background and allowing it to fully dry before lettering on top. Now for the laser level and Lettermate: these go hand in hand because I use both for addressing! For basic addressing, I enjoy using the Lettermate and for more advanced addressing, I set up my workspace with a mounted laser level for perfectly straight baselines!
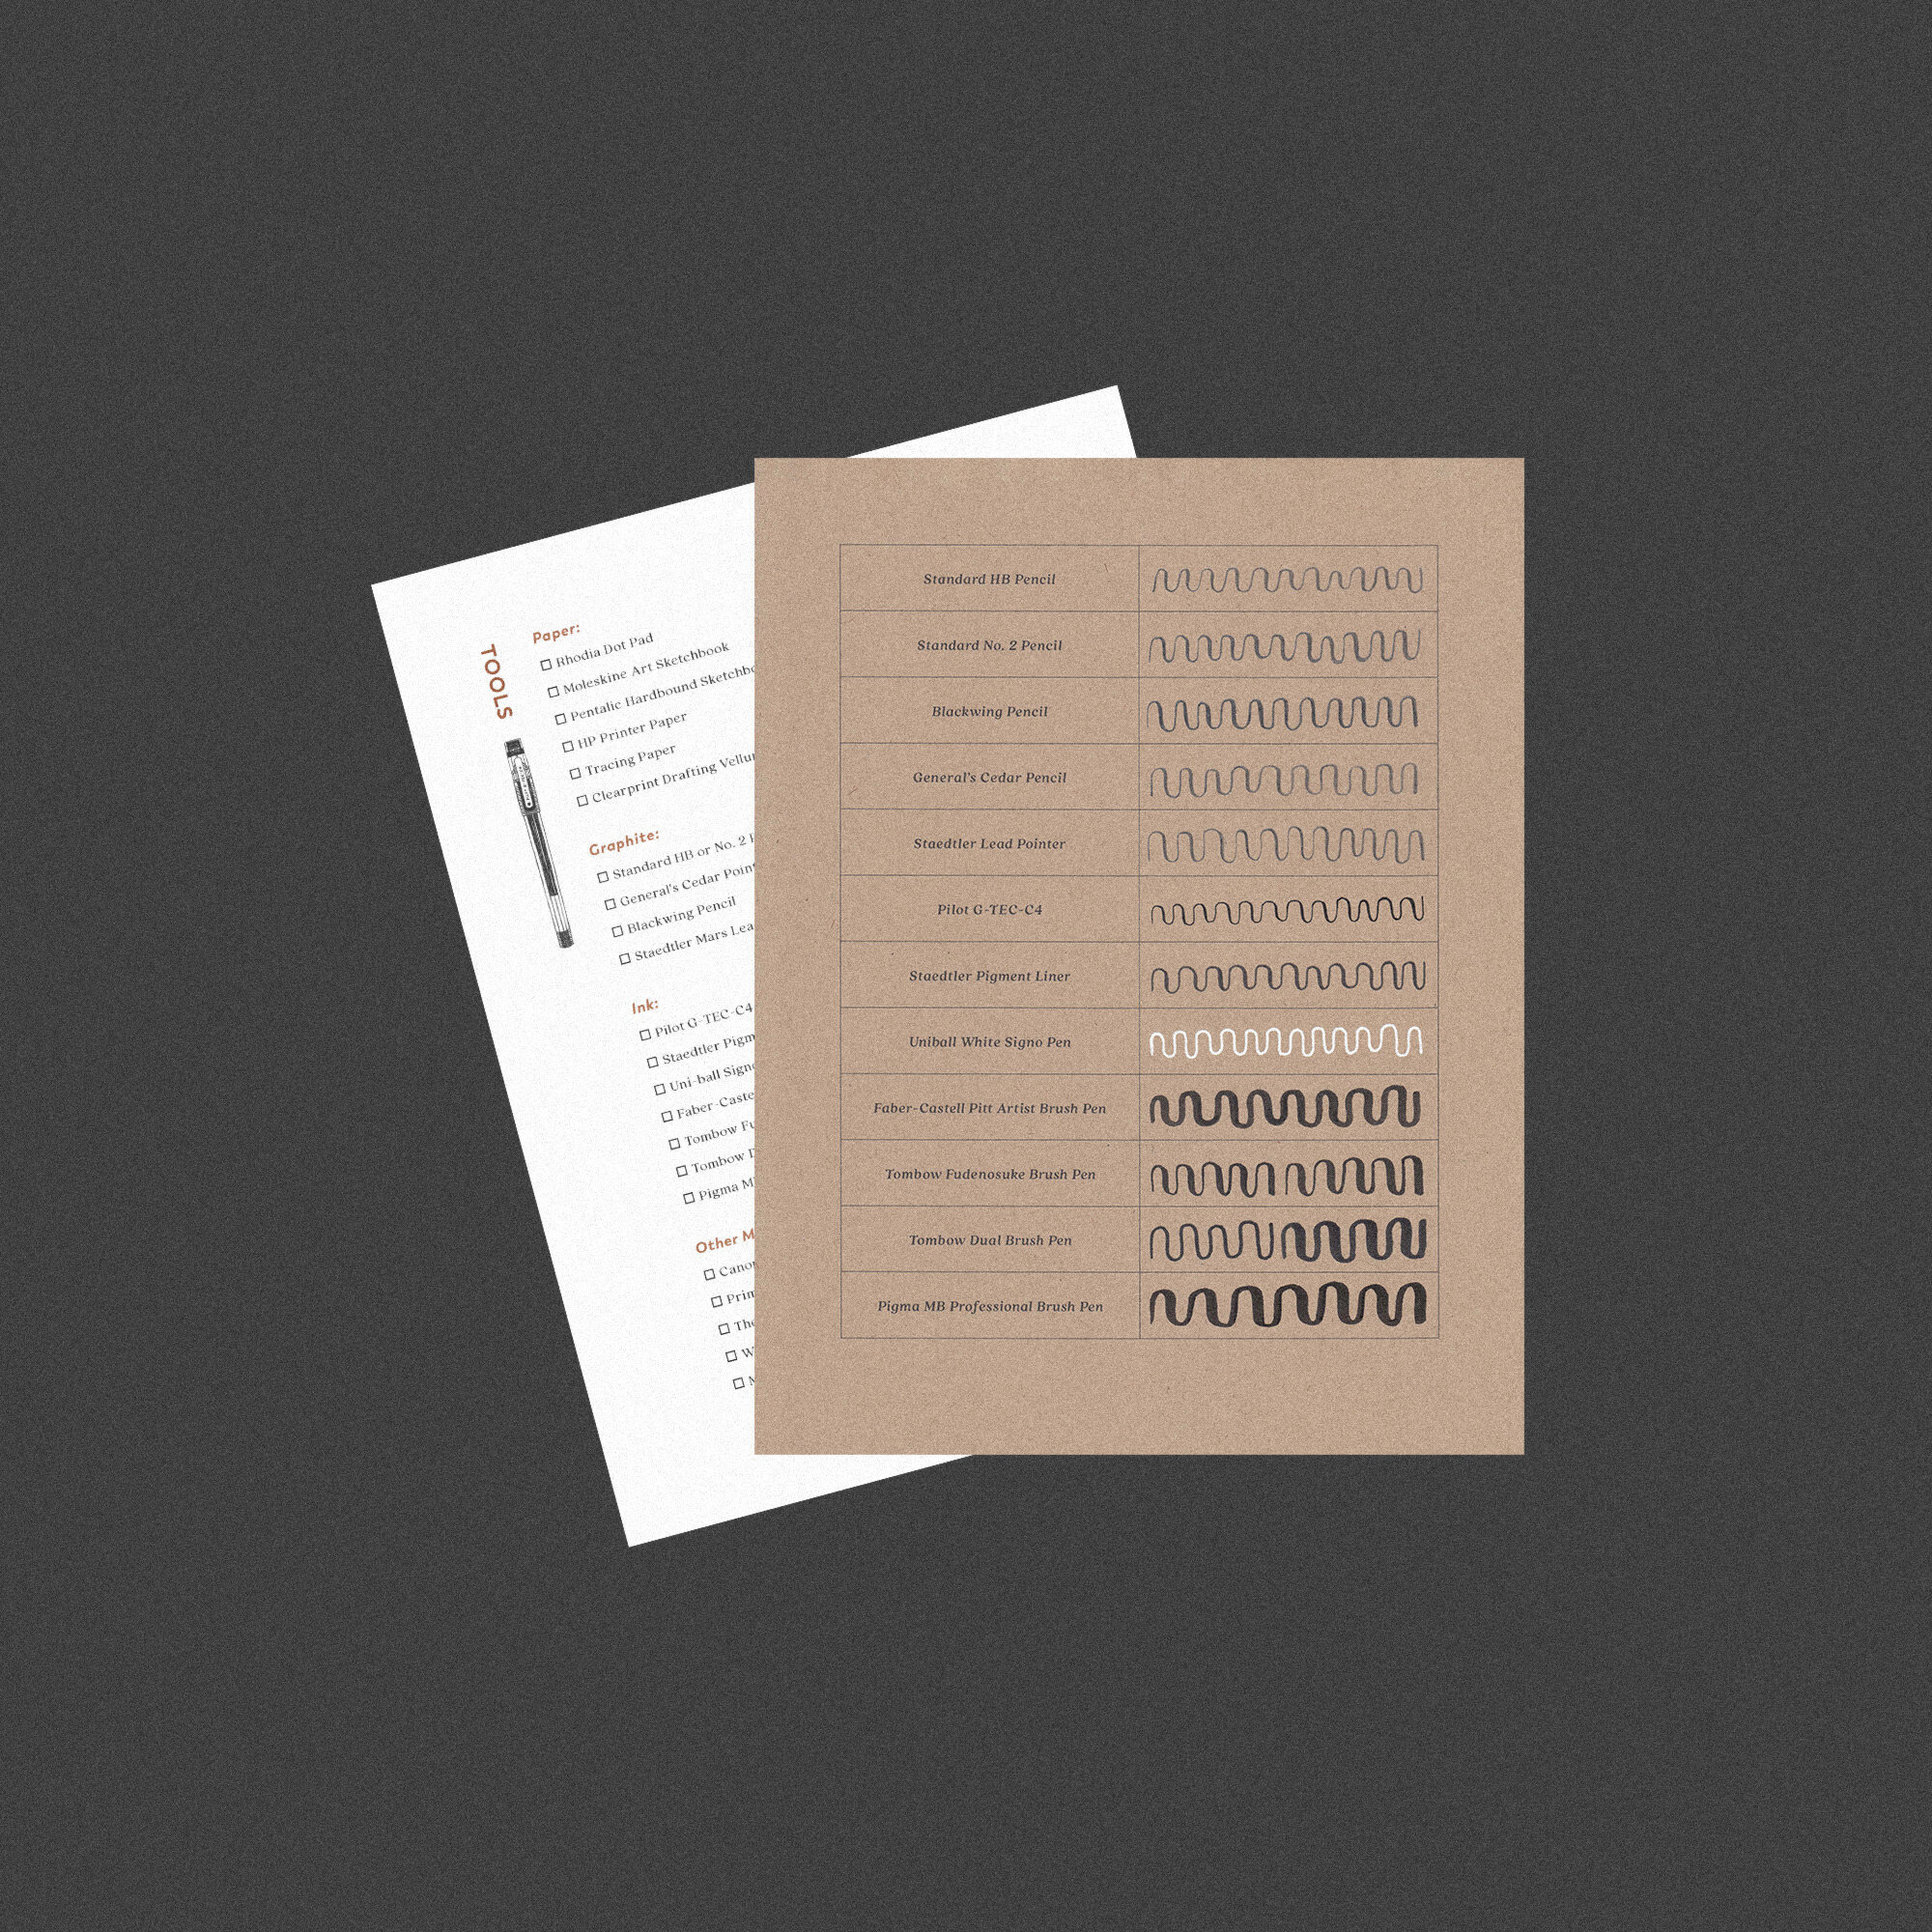
I demonstrate how to use all of these tools in my workshop — Creative Lettering & Design: A Comprehensive Introduction to Illustrating Letterforms on Skillshare. I’ll also be announcing the relaunch of my live workshops soon! In the meantime, feel free to check out my online workshop or download my free lettering essentials checklist and example guide!